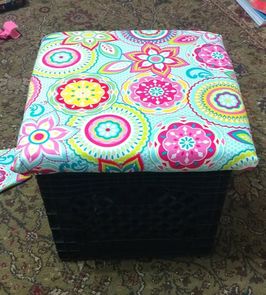
 The finished product! The finished product! This year I am fully transforming my room into a flexible seating environment. I've used crates in the past to store my students' notebooks and folders, but thanks to Pinterest, I discovered they would make adorable seats for my classroom. Below is a step by step tutorial on how I made them. Materials: 4 crates 4 pieces of 14" x 14" plywood 4 pieces of 12" x 12" plywood fabric (I used 4 yards) 4 foam 14" x 14" foam squares roll of foam batting staple gun wood screws screwdriver At least 1 cute little helper
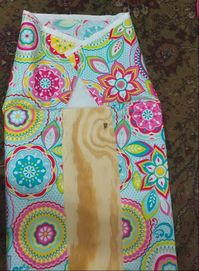
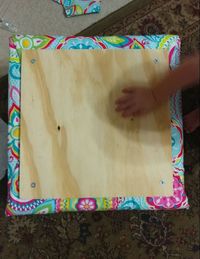
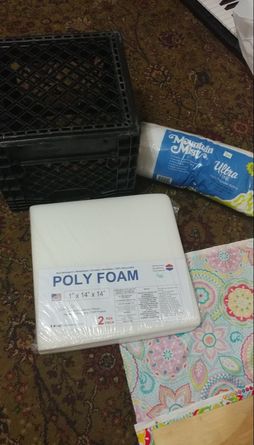 I went to Home Depot to get the plywood and Hobby Lobby for the fabric, foam squares, and foam batting. I brought one of my crates inside Home Depot, and I'm so glad that I did. The assistant measured and cut one sheet of plywood into the 8 different squares. I even had some left over that I will be using for shelves or an inspirational wood board. Once I had all my supplies gathered, I cut the fabric and batting into large squares. First I put the fabric down. I placed the batting on top of it, then the foam cushion, and finally the wood board. I used a staple gun to secure the fabric and batting to the wood square. Next, I put a smaller piece of wood on top and fastened it with screws.
Some people spray paint their crates, but I'm thinking of leaving mine black. I love the fabric! It's so bright and colorful. I cant wait to add them to my classroom. 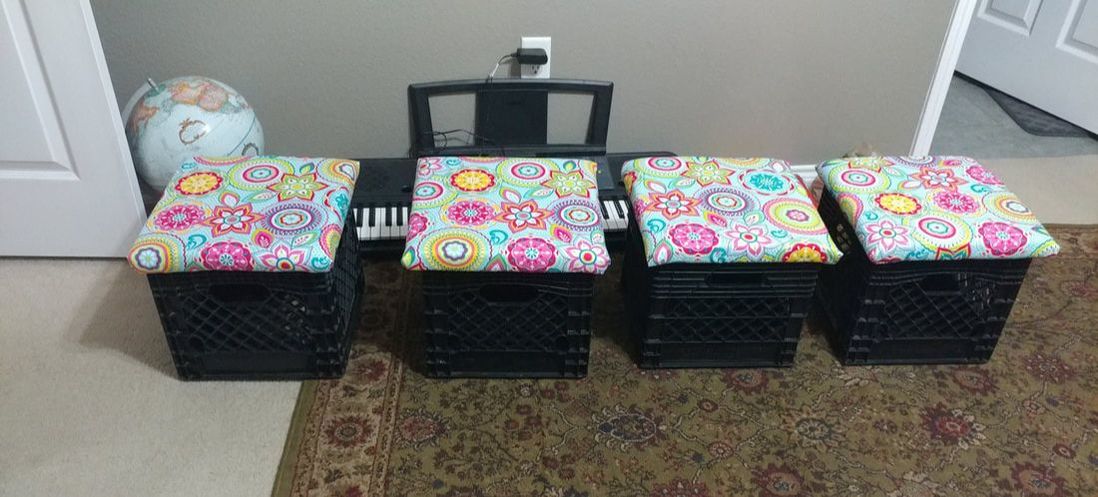 Project complete!
1 Comment
Courtney
7/30/2017 11:17:55 am
This is awesome! I love those and now I want to make some for my classroom! Where'd you get the crates?? Leave a Reply. |
AuthorHi! I'm Karen - a passionate educator dedicated to learning, growing, and sharing! Thanks for stopping by! Archives
August 2018
Categories
All
|


 RSS Feed
