|
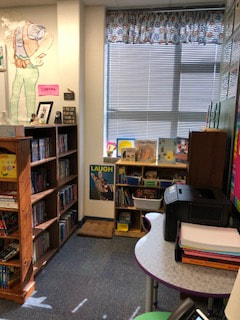
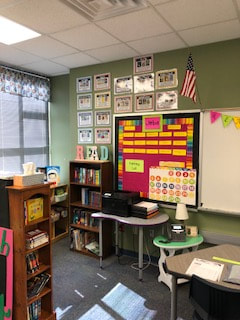
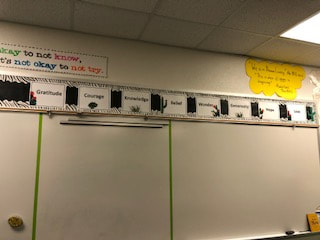
I love looking at the classrooms of other teachers. I could spend hours browsing over pictures and reading how they organize their classroom materials. This year I have moved to 5th grade. I am back as a Humanities teacher (reading, writing, social studies), so I had the opportunity to reorganize and redecorate my classroom on the smallest budget possible!! We're talking about using cardboard and scrapbook paper! Here are some pics! 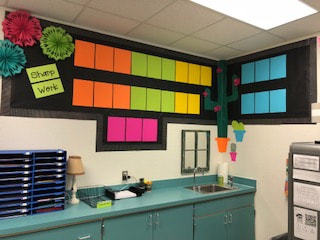 Great place to show the work of 26 students! 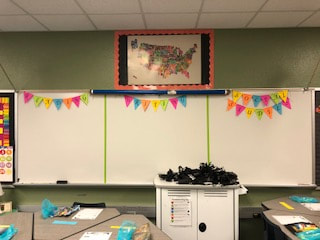 Hard to see, but banners were made from paper and stencils. This is where I will hang focus anchor charts for reading, writing, and social studies. United States map was purchased at Hobby Lobby. 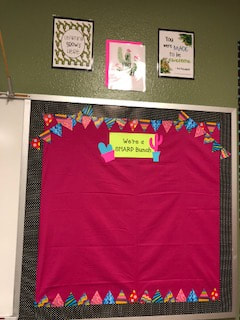 This is where we will put our family photos. The motivational signs were found free on TPT. You can find it here along with other great succulent items: https://www.teacherspayteachers.com/Store/Purely-Primary-By-Alma-Alexander 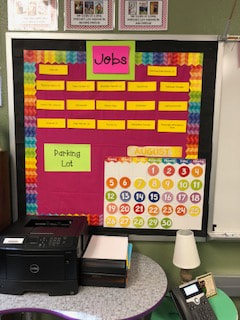 Normally I have one boy helper and one girl helper to do all the major jobs. In 5th, we use class cash for certain jobs. Students have to complete an application for their job and get paid each week! 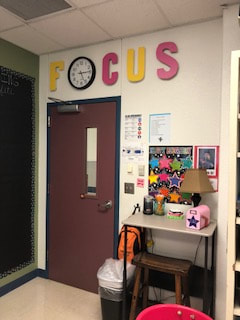 So I found this idea of the FOCUS sign on Pinterest. I made these letters out of cardboard from a trifold presentation board and hot glued tacks to the back so they stood off the wall. Thank you, mom, for your help with this project! 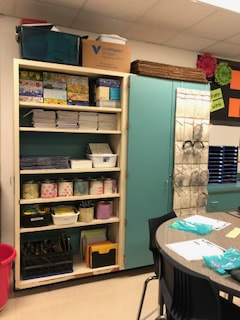 Why show organized shelves? Well, these cans on the shelf are made from coffee cans, scrapbook paper, and ModPodge. Each table group has a container with necessary supplies. 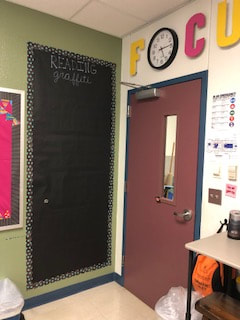 I am sooo excited about my reading graffiti wall. I took the idea from the Lessons with Laughter blog. I love all of her ideas! http://lessonswithlaughter.com/reading-graffiti-wall/
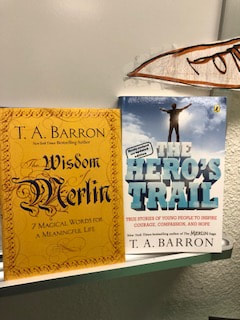
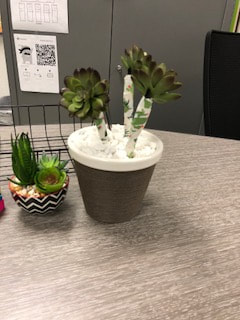 Another idea from Pinterest. These pens will be for my small group time. They are made from duct tape, pens, succulent floral from Hobby Lobby and mini-stones. 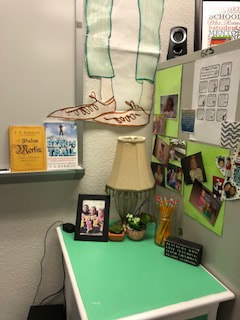 Not sure why I included this picture other than the fact that it represents a small place in the room where I can keep precious photos and gifts. 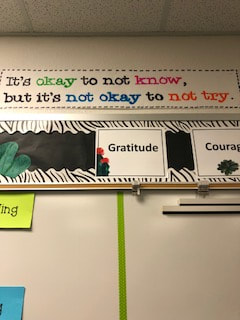 Love this quote from Pinterest! Growth mindset for sure! Used my projector to trace the letters. :) Classroom Community with MerlinThe pictures below showcase what will serve as our classroom community. There are 8 words found within T.A. Barron's The Wisdom of Merlin. Some of these words include knowledge, courage, gratitude, and belief. The book is small, so I plan to read one section a day which covers an individual word. In 7 to 8 days we should be done. These words will be our guide for character and community. More of T.A. Barron's work can be found here: https://tabarron.com/books/non-fiction/wisdom-of-merlin/
0 Comments
Small acts can have huge impacts. I was reminded of this every day during this past week. During our annual school district's convocation, I was deeply moved by the stories of love, encouragement and support. Whether it was from a 17 year old buddying up and listening to a WWII veteran in the Soaring Valor program or hearing from a fellow parent/teacher on how much a simple hug meant during a tragic time in their lives, the small acts we choose to make truly do impact others in profound ways. The week before school starts can be an extremely stressful time for teachers. We become so consumed with trying to make everything look just right and worry if we will have it all together. The first thing we must realize is it doesn't have to be perfect. The second thing we need to come to terms with is the fact that we won't have it all together, and that's just fine! As they say, our work is never done. So how do you cope with the stresses of back to school? You lend a helping hand! That's right! You put others' needs above your own. When you have a servant heart your actions come from a place of humility. You operate from a place of love. You help others because you have the sincere desire to see them succeed and not because you want to make yourself look good. What does that look like from a teacher perspective? It's really very simple. I noticed it several times this past week from across my campus. The servant heart came in the form of helping each other hang borders on hallway displays, sharing ideas for meet the teacher night, pitching in to help another teach move her classroom at the last minute, helping a fellow teacher brainstorm and implement a new idea, and lending a hand to help rearrange and move classroom furniture. Some tasks took some time while others were over in seconds. The key ingredient in all of these things centered on the word HELP. That is what a servant heart strives to do. It helps others. As we go into our first week of school and throughout the year, I encourage you to begin seeking a servant heart. From a personal standpoint, the greatest hinderance to this is our own pride. I think it's natural for us to want recognition, validation, and keep or "protect" what we have. This includes ideas we have, resources we have, and the biggest one of all... the time we have (or don't have). However, when we let go of pride and begin to help others, God has a way of making everything work out. All of a sudden our to-do lists get shorter, our instruction becomes stronger, and our joy increases!  Here are some simple ways to foster a servant heart.
1. Pay attention to the needs of others around us. Look for those opportunities to help. 2. Do things whole heartedly. Put your best effort into whatever you are doing. 3. Stop complaining. Quit the negative talk. Speak love!
Besides just getting to know their learning styles, seating preferences and academic progress, take time to get to know their hobbies and interests. "I make a goal to attend a personal event for each student." This could be a sporting event, play, dance or music recital, or even a scout meeting. "This has a HUGE impact on classroom behavior and family connections and is well worth a few hours of your weekend." I completely agree with Jennie. It is a wonderful experience watching your students perform in a theatrical production or play in a softball tournament. It brings our students great joy when they see us there cheering them on. Incorporate Student Interest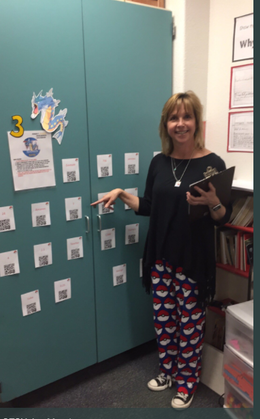 Why not use the latest fad to get your students motivated? Jennie is all about using student interest to motivate and engage her students. She suggests using fidget spinners as fun timers, hiding Pokemon around the school so students can reveal math challenges and playing a Magic styled card game to illustrate the differences between renewable and nonrenewable resources. As a gamer, she loves being able to share her passion of Minecraft with her students. Her students use Minecraft Edu to model geometric concepts of area, perimeter & volume, the setting of a story, place value and many other engaging activities. "They are engaged in learning because you are speaking their language." Whether it's gaming, music, movies, or pop culture, find someway to use your passion and their interests and incorporate it into your lesson design. Old School + New School = Best School"Incorporate old school tried and true methods in your classroom. Turn off the computer and build, draw, color, or cut. In short, MAKE things." Wow! This is so true! Jennie points out that too many times her 4th graders have a difficult time with liquid glue because they have little or no experience with it. Kids need opportunities to develop their fine motor skills even in upper elementary. Some of her suggestions include creating artifacts of content learned in class such as historical sites or events, creating scientific models to show Earth's rotation, planning a soil buffet for students to "play in the dirt" while discovering the physical properties of different types of soil, and creating 3D maps of severe weather patterns. "We as teachers are doing them a disservice if we do not give them opportunities to hone these skills." Couldn't have said it better myself! Thank you, Jennie, for inspiring us to build strong relationships and engaging lessons through the sharing of passions! Looking for something to boost your students' science vocabulary? Check out Jennie's TPT store! https://www.teacherspayteachers.com/Store/Choices4science Remember... Never stop learning!
I absolutely love Schlechty Center Design Camps. If you haven't attended one, you need to go. https://www.schlechtycenter.org/
I always walk away with so many great tech tools and ideas. This summer was no different. I plan to share all the tech tools I picked up from my time at camp this past summer, but for now, I want to highlight on two that are my current FAVORITE to use! Adobe Spark
I've used it several times this summer to create images (referred to as a post). It literally takes just a few clicks. Check out some of the posts I've made. While I'm only sharing posts and digital posters I've created, Adobe Spark Videos are super easy to make. This is one tool that I know my students will love using. Adobe Spark even offers a blog with educational ideas and examples.
https://spark.adobe.com/blog/education/ Also... Check out the video below. It shows you a quick tutorial on creating an Adobe Spark Post (image). 
Screencastify
Many teachers I know use screen recording apps to create lesson tutorials and explain procedures. There are many screen video recording apps to choose from, but my favorite right now is Screencastify. It is a Google Chrome extension. I like it because it is easy to use (notice a common theme here), you can select to embed a webcam, and it easily saves the video to Google Drive or Youtube. I'm going to use screen recordings throughout the year to support our learning. I've already used it for step by step directions and to show my students how to navigate a particular website. I definitely plan to use it for lesson recaps. This will help those students who are absent or those that need a reminder of the skill or lesson modeled that day.
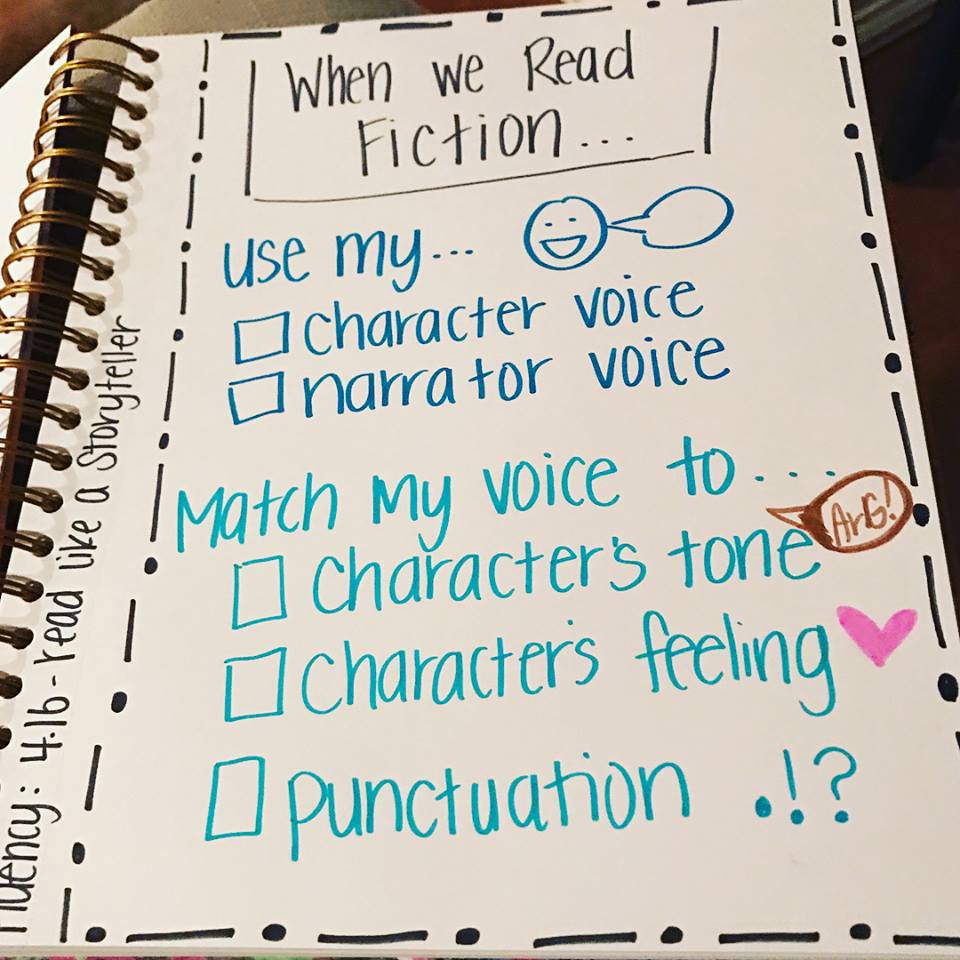
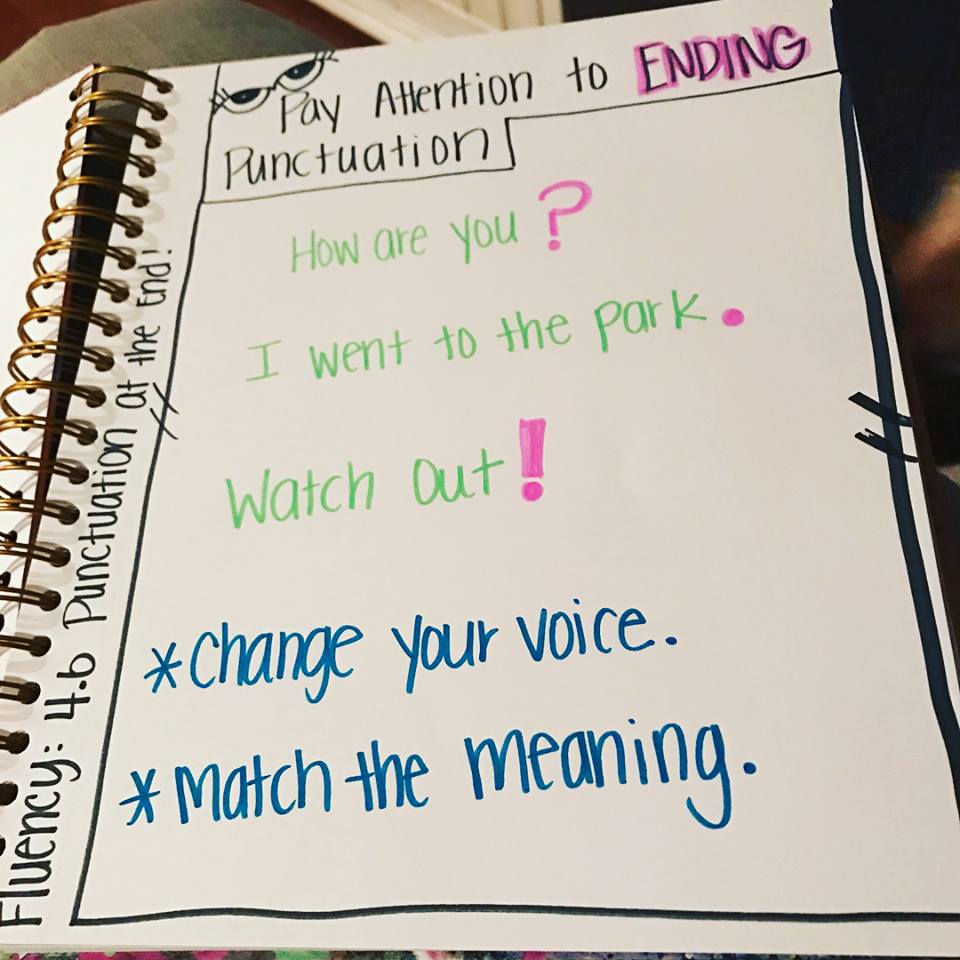
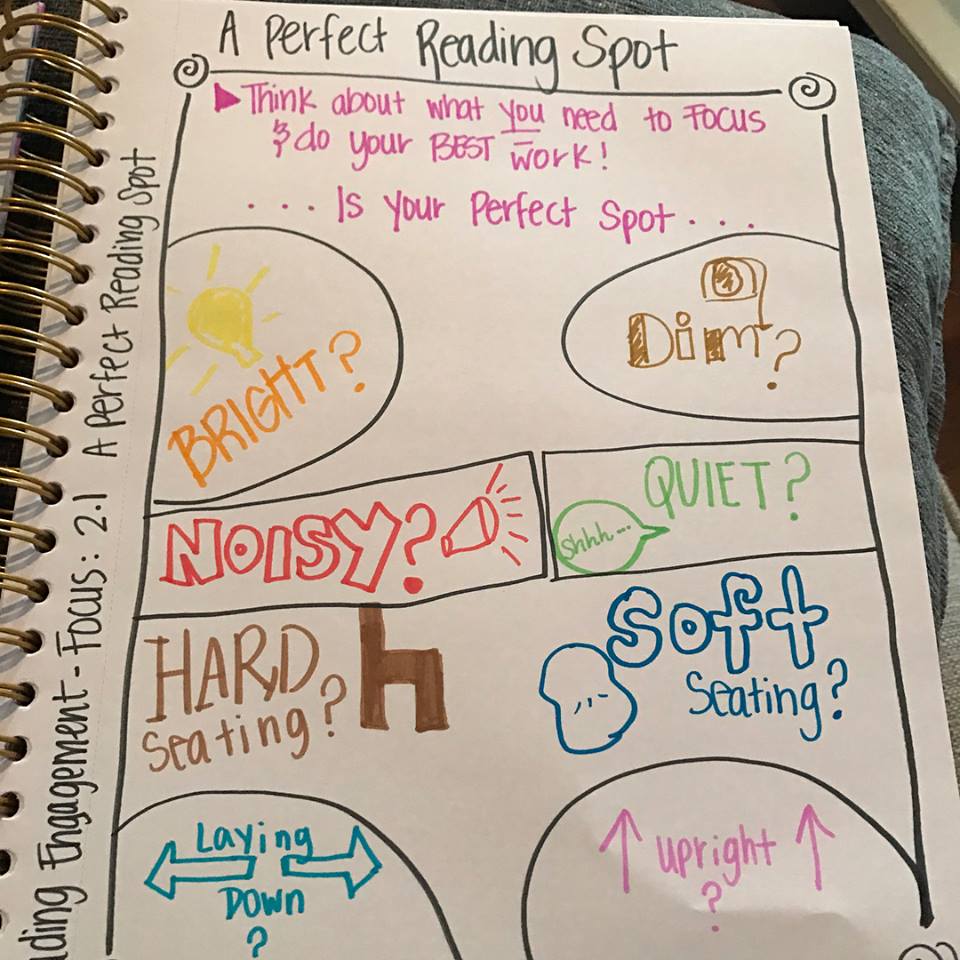
Thank you @ervin_courtney for the great idea! Below is a screen recording using Screencastify of an Adobe Spark Post creation. I hope I have inspired you to check out these two amazing tech tools!  Meet Courtney. A passionate, fun-loving, 5th grade Humanities Teacher. She is one of those special teachers that make you feel motivated and inspired. Her motto is "striving for excellence" which she does day in and day out. Tonight we met for tea, coffee, and books. Even though it was a fairly short visit, her words of teacher wisdom poured like sweet summer rain. I was reminded of several "good teaching" practices such as the importance of meeting with students during the first two weeks of school to talk about their reading life and the power of focused strategy groups and one-to-one conferences during reading and writing workshop. It was refreshing to hear the ways in which she weaves student voice throughout her lessons and the ways that she fosters a collaborative climate in her classroom, school, and district. She says that her sole purpose is to make every one of her students readers for life, but I see her positive influence transforming teachers for life. Below are 3 easy to implement ideas inspired by Courtney. I plan on using every single one of these. I hope they inspire you, too! Teacher Sketchbook Anchor charts are teachers best friends. Sometimes we can get caught up in creating cutesy charts that the actual content can be confusing instead of helpful to our students. Courtney is a detailed oriented person and thorough in her thinking. In the past, this would cause her to focus on "stuff" that didn't matter when teaching and would make her miss the meat of the content. She knew she needed something to help her with anchoring her charts to student learning. "When I deliver a message, I want to be so specific and concise with my students." One strategy that has helped her align her charts to the specific content and standards is creating a teacher sketchbook. A teacher sketchbook is literally a sketchbook with mini anchor charts. She decides which anchor charts to create, chooses the right colors and design, and creates a mini version of the one she will create with her students. This serves to not only guide her instruction, but she also refers back to it when making "re-watch and re-learn" videos at home. These short videos recap on information covered that day which she shares via Google Classroom and on her website. Some of her take away tips include using the same color for the titles of the charts so students can easily recognize the title when they see it. She also recommends using borders around the anchor charts. This draws students' attention to the message of the text. Teacher Mail Courtney understands the importance of student voice and creating an environment where students feel safe. "We need a school culture where we feel comfortable telling each other things." This year she is using teacher mail inspired by @upperelementaryadventures to receive feedback and messages from her students. This is a great way to encourage student input and provides a safe avenue for students to share things in writing that they otherwise would not feel comfortable sharing. Using her Cricut, she created an adorable vinyl label and put it on a mailbox that she picked up from Joanne Fabrics. She found these "teacher mail" templates for students to use. Get them free here: www.teacherspayteachers.com/Product/T-Mail-Teacher-Mail-FREEBIE-2615763 I absolutely love this! I can't wait to check my mail! 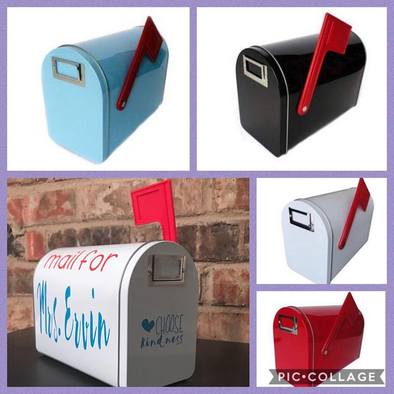 Observe Me Movement Feedback and reflection is the key to continuous growth and improvement. Courtney understands this. "I work in a building with other successful educators, and I value their feedback." This year she is taking part in the #ObserveMe movement where educators place a simple sign outside of their doors inviting colleagues in to their classrooms to observe and provide feedback. A QR code takes the observer to a Google Form where they can provide comments. Courtney and I both see the transformative power of feedback and reflection. It holds us accountable to the content and the level of standard of teaching. My school participates in CORE visits which is very similar to the ObserveMe movement where groups of teachers visit their fellow colleagues' classrooms and provide feedback throughout the year. To learn more about or join the movement, go here: robertkaplinsky.com/observeme/ 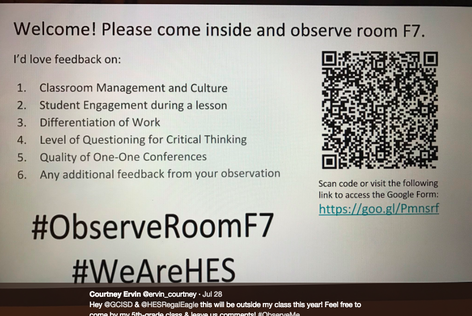 Courtney's note posted outside her door. I can't wait to make mine! I hope you find these ideas inspiring and are just as excited as I am to begin using them in your own classroom. Thank you Courtney for sharing all of your ideas and passion with us!
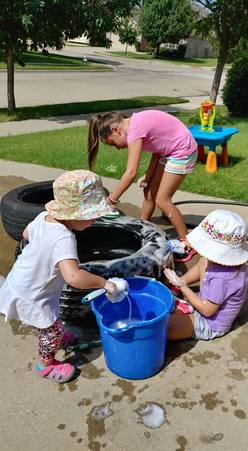
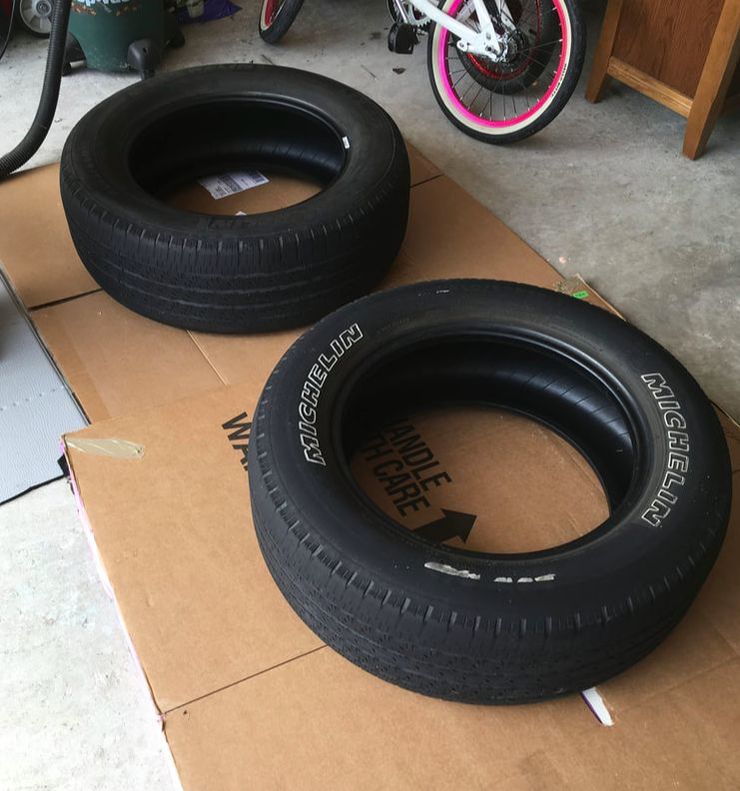
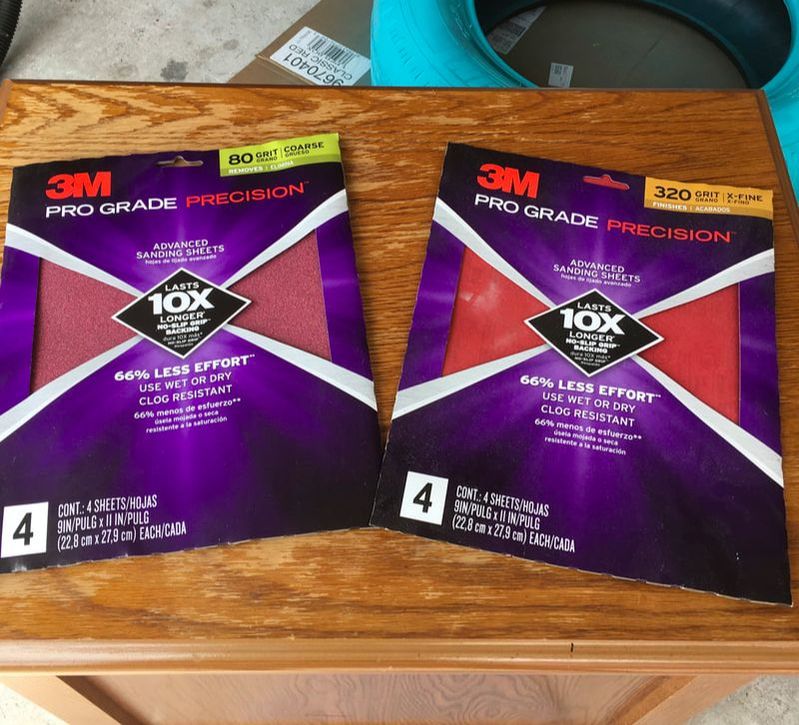
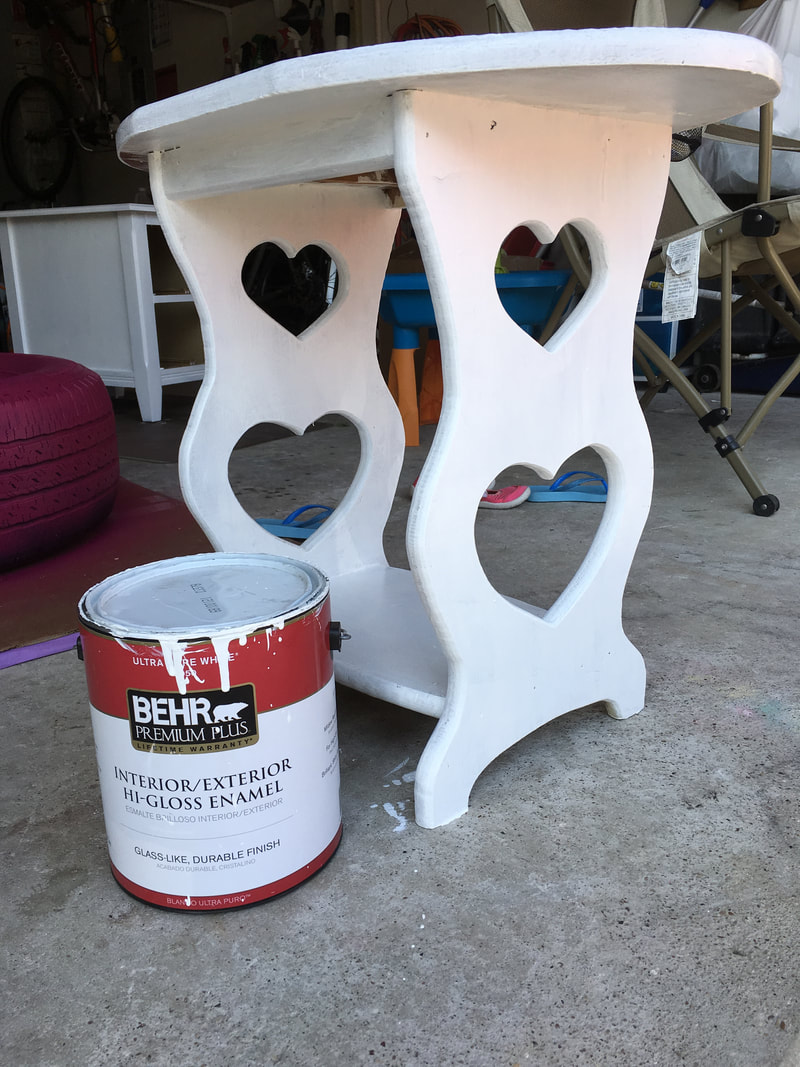
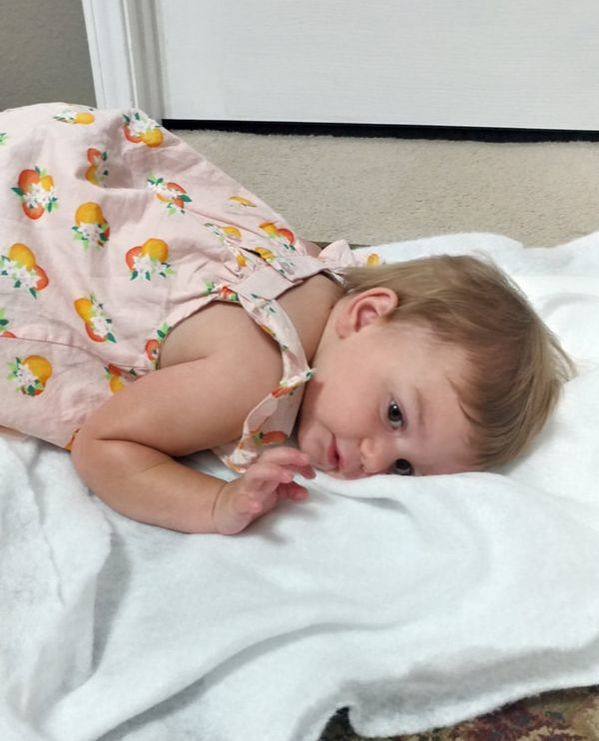
Remember... Never Stop Learning! Recently I shared a post on creating crate seats for flexible seating options. They turned out great! Continuing on my quest to transform my classroom, below I share how I made tire seats and gave some much needed love to a couple of side tables. dirty tires + wash + paint + pillows = awesome seatsMaterials old tires soap, scrub brush, bucket, lots of water spray paint pillows little helpers needing something to do
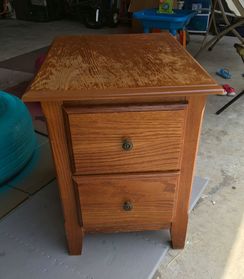
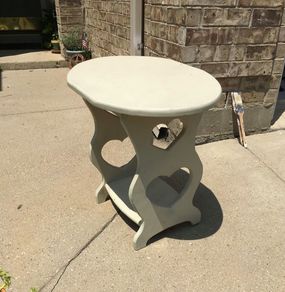
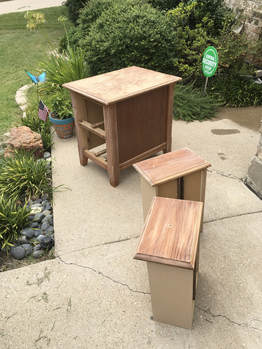
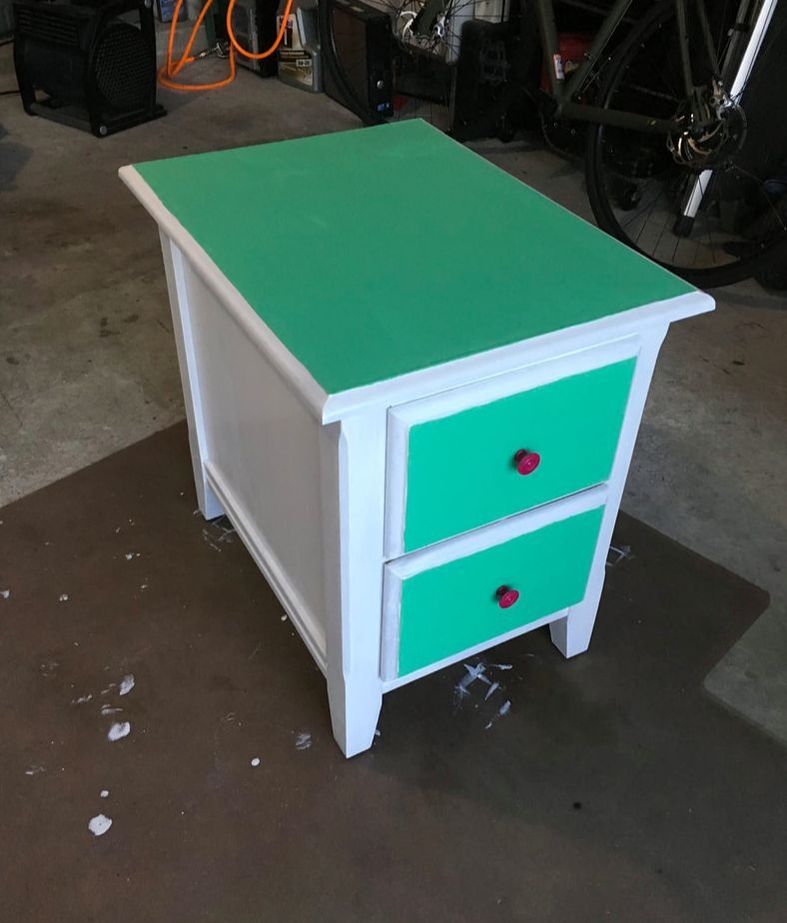
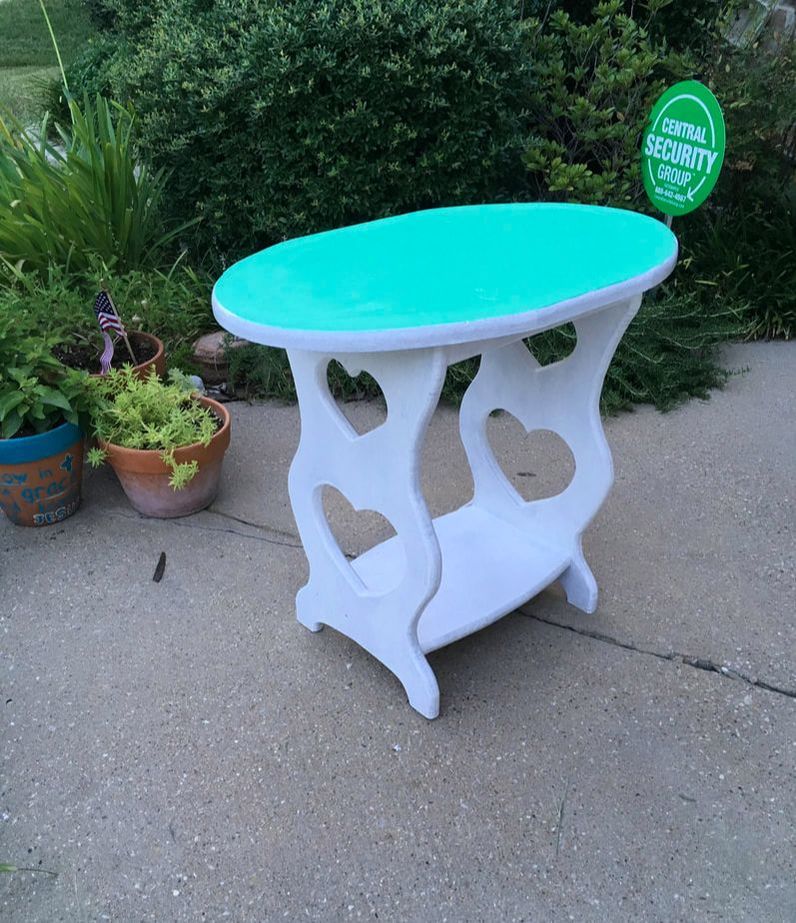
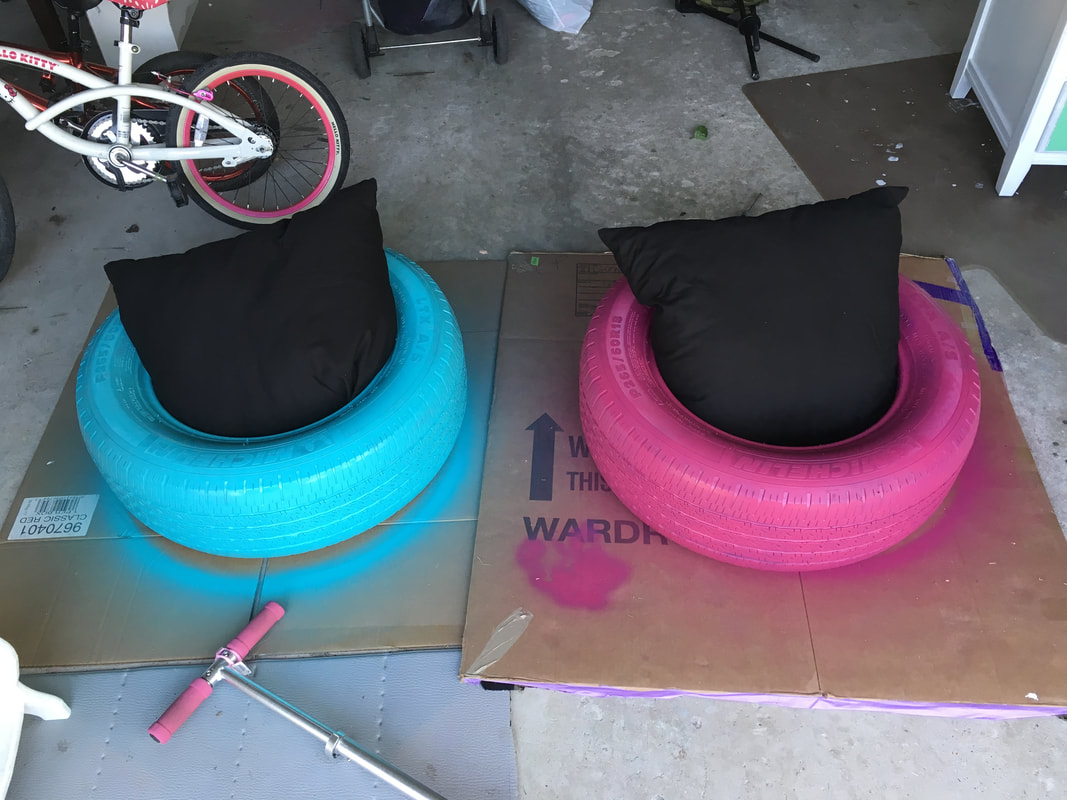 Finished product! It will look cuter in my classroom, but you get the idea... Fixin' Up Some Side Tables
I can't wait to set these tables up in my classroom! Using materials I already had in my house, I really only spent around $13! Not too bad!
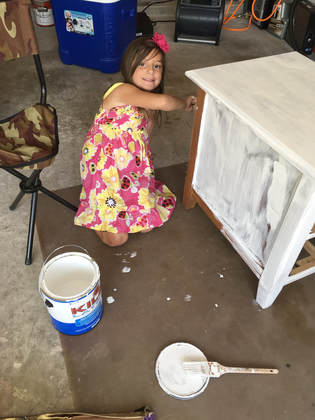
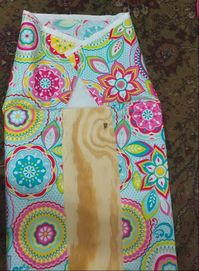
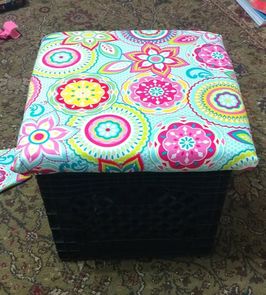 The finished product! The finished product! This year I am fully transforming my room into a flexible seating environment. I've used crates in the past to store my students' notebooks and folders, but thanks to Pinterest, I discovered they would make adorable seats for my classroom. Below is a step by step tutorial on how I made them. Materials: 4 crates 4 pieces of 14" x 14" plywood 4 pieces of 12" x 12" plywood fabric (I used 4 yards) 4 foam 14" x 14" foam squares roll of foam batting staple gun wood screws screwdriver At least 1 cute little helper
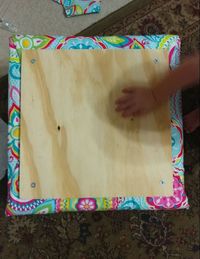
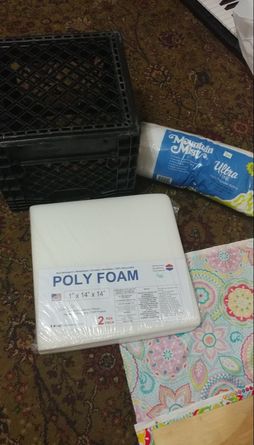 I went to Home Depot to get the plywood and Hobby Lobby for the fabric, foam squares, and foam batting. I brought one of my crates inside Home Depot, and I'm so glad that I did. The assistant measured and cut one sheet of plywood into the 8 different squares. I even had some left over that I will be using for shelves or an inspirational wood board. Once I had all my supplies gathered, I cut the fabric and batting into large squares. First I put the fabric down. I placed the batting on top of it, then the foam cushion, and finally the wood board. I used a staple gun to secure the fabric and batting to the wood square. Next, I put a smaller piece of wood on top and fastened it with screws.
Some people spray paint their crates, but I'm thinking of leaving mine black. I love the fabric! It's so bright and colorful. I cant wait to add them to my classroom. 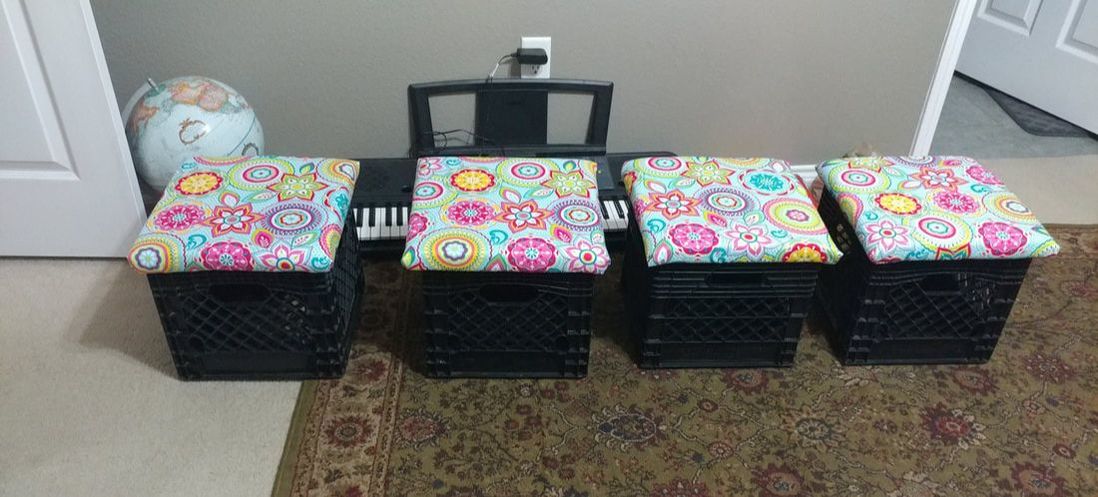 Project complete! |
AuthorHi! I'm Karen - a passionate educator dedicated to learning, growing, and sharing! Thanks for stopping by! Archives
August 2018
Categories
All
|


 RSS Feed
